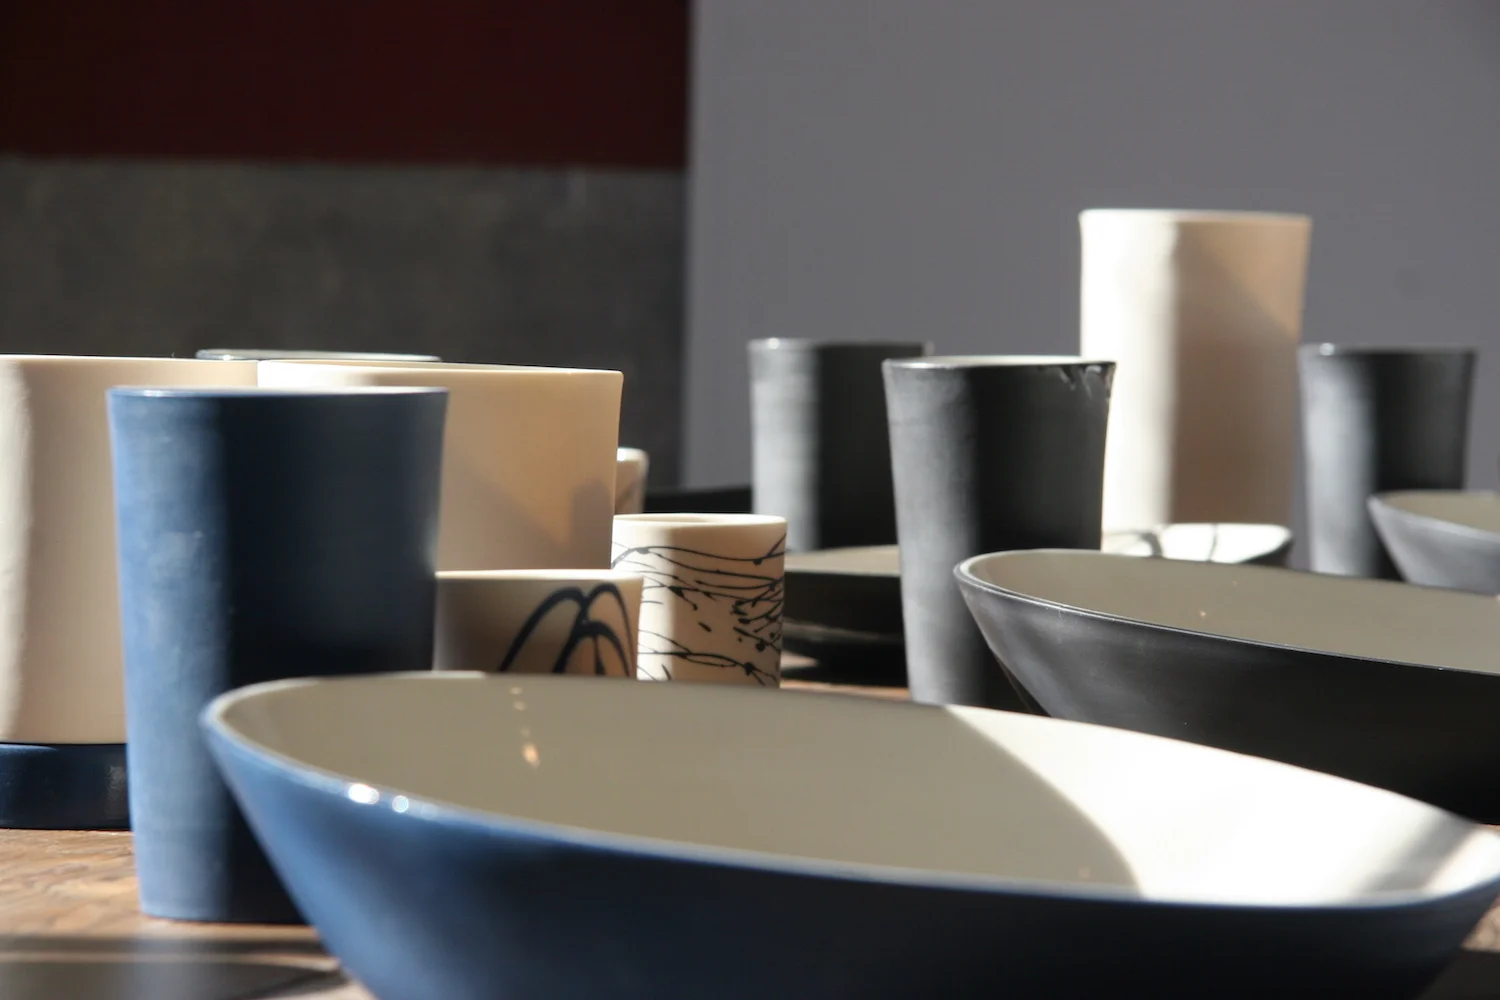
Super flattered that one of my bowls made in onto this list, thank you Seattle Times. Bonus that my good friend Andrea Ramsey is in the feature too. #stripes
Today was a good day.
Thank you Seattle Times, Caitlin King, and the Universe.
xx
welcome - more thank a feeling
Friday evening was the opening night of my exit show
celebrating two years as a resident at Pottery Northwest.
Below are some photos from the night of the opening.
If you missed the opening, and would like a guided tour
please do drop me a line - and I will happily meet you at the gallery to talk about the work.
The show is up until the end of August.
This started as a thank you to my photographers,
and it grew and grew,
as there are so many people that supported me to this point.
Thank you to Sudhi Tirnahalli and Robert Alexander
for being my photographers so I could focus on other things.
(like hugging guests and directing them towards the beer and bubbles!)
to Jane Hill, transatlantic DJ.
to Plank & Grain, for the generous loan of their handmade, furniture.
Their custom furniture is lovingly made from reclaimed wood
found in old buildings around the Pacific Northwest.
Their work is exquisite and affordable
and I can't count the number of people who have raved about it to me since the show went up.
(and to Jordan, who introduced me to Plank & Grain, I consider my creative fairy godmother.)
James Lobb director of Pottery Northwest, who truly enjoys facilitating artists making and showing their art.
Only surpassed by his wife Brooke - who is the calm presence at each of our openings - and the person who makes everything alright on the night. They both follow elegantly in the footsteps of Wally & Julie Bivins who lead the way before them. Also, thank you to Wally for taking a chance on me, and all of your guidance, and friendship.
Robert, Mum, Dad, Joe, Helene & Wolfe, Alex & Eileen, Bridget, Margaret & Chris, Janie, Ra&G, Vicky, Mel, Noriko, Momo, and all my friends and family who have believed in me, supporting my clay career from way back when - and patiently waited while I found my way back here.
I could go on... it takes a village.
Also, thank you to The Village.
synesso
In early February I had an e-mail via this website from Katy at Synesso a company that hand-builds high end espresso machines in Georgetown (Seattle).
I knew of their machines from living in Melbourne, (shout out to Proud Mary!) In Auz - people cared about their coffee in way I've never seen anywhere else. Kit matters... I learnt that if you were grinding your beans in anything other than a conical burr grinder you might as well, not. So you got to knowing about the machines that made good coffee and Synesso was top of the list.
They were looking for espresso cups, to give as thank you gifts to dealers to commemorate their first ten years in business. Specifically they wanted cups with a "clean aesthetic to parallel the precision in what we do." Which, is a compliment but also - scary, as it can be tough to get clay too 'precise' since its organic (and sometimes, temperamental!) but up for the challenge Katy, Sandy and I started designing together.
Synesso had a few samples, one from a quite well known maker in California and I think the other was an East Coaster... they liked both designs - but really wanted someone local to make the cups. I met them with a few samples of my own - riffing off what they'd shared -- we played around making coffees in them, and seeing what worked and what didn't.
The big thing we changed from my starting point was to round the inside of the cup. I've been working with sharper corners in my work -- which is a tell to my production method... but to get the most from your espresso you want to allow the crema to land gently and flow uninterrupted so it can maintain its texture, heat and bloom. So rounded it was... we tried a few shapes (see the inverted versions on the right) and looked at how they sat... on a table, in your hand, and still rounded itself on the inside.
We could have kept the squared off exterior and then - using a two part mold - had a rounded inside. For two reasons this didn't appeal: foremost, I like the integrity or honesty of a one part mold - it looks like what it is, simple and straightforward. Secondly, we had a month to produce these cups, and I didn't want the additional time spent front end tooling a two part mold (and additional costs to the client) which would slow things down.
I also made the cups really thick for Synesso. I mentioned earlier that clay is organic and sometimes (gasp!) temperamental... half way through an easy day of casting my molds will do strange things (see picture on the left).
Which has to do with the clay having an upset feeling... (Actually its more technical than that - as far as I understand its a flocculation issue ((which does come from overuse / neglect)) - maybe a post of this later for the clay nerds.) My point is, sometimes clay is hard to predict and control, so when Katy and Sandy casually wielded digital caliper to talk about size and thickness... I was a little nervous. Our aim was to produce a cup that didn't need a saucer, and could be handled hot off the machine with no discomfort which we got to. But I was very aware that makers of precision coffee machines weren't going to thrilled with an ish. Shout out to Alexa, my virtual assistant "Alexa, set a timer for 24 minutes," who kept the cups coming out an even thickness.
Another thing we looked at was surface decoration -- initially we were playing with idea of a silver markings on the cups reflecting the silver detailing on the Synesso machines -- but a little research turned up that they would require hand washing and even then the silver would eventually fade. Not being durable was a big no no for all of us. We wanted our design to last, and last well. So we chose to use red slip -- and like my normal production method make it integral to the cup surface. It will never wash off, never fade... you can't even scratch it (unlike a glazed surface.)
I set about honing my red slip... to match Synesso's red branding. Testing two different mason stains at different concentrations in order to get a red that really pops. The photos below are the raw red stain mixed in water, the stain mixed with slip and the the first round of test colours. We went a second round, as we were looking for something really punch. In the end our concentration was at 15% stain to slip which is really high! (don't tell my students, I don't let them mix slip above 4%) The middle photo I think of as 'just for me' moment... I love watching the patterns bloom before it is mixed properly and have recently experimented a little with making work this way, but I'm pretty sure I was over tie dye before I became a teenager.
The final step to resolve before I could make the molds was the logo - and I worked with metrix space using their laser cutters, laser etchers and 3D printers in order to develop the right stamp to put in the foot of the cup. Large enough for the detail to be seen, delicate enough to not distract, and tapered in a manner that the cups would release from the design easily. I thought the best tool for the job would be the 3d printer -- but the detail was too delicate for the machine. Next up was the laser cutter, but that's like using a chainsaw to julienne carrots -- and so: the laser etcher while a more expensive machine, is absolutely your friend in this situation.
With the stamp made, I was able to move onto mold production -- everything is more efficient in numbers so throwing the 6 forms, then lubricating them, rolling out 6 fat coils to hold the metal cylinders in place... it is satisfying working in numbers.
I made 5 molds and one for luck. I was telling my husband about the mold production day and realised that my 'one for luck' is such a 'tell' I've lived in Asia. In the West the 'luck' item would be good luck - but I made one more mold than I needed so that the bad luck could go to that mold, like a Japanese carp in a pond -- there to take the bad luck from the home owners - my 6th mold protected the first 5 from having flaws. Anyway -- I made 6, one went wrong, I was okay with that. Moving on...
Throughout this project I've really enjoyed looking out over my work table (& shelves) at a sea of cups -- and found myself taking photos all the time - they just look so good to me & it's sad to see the photos go to waste - just clogging up my dropbox & pushing me over my storage limit so here's a few more to share...
That's it really - shape, colour, volume... and then I set about making them. I think I made about 200 cups (I still need to do a final count for my own learnings) so as to ensure that I could deliver only the best pieces to Synesso. Working to the old business saying 'under promise and over deliver' I gave them a few more than 150, and a few larger cups with the same surface treatment to have around the office for everyone to enjoy. Thinking about it now, what I should have done was made them some dog bowls... Have you visited the Synesso offices?! They have the best collection of woofers in one office I've ever met... all amazingly well behave and friendly. I think with that, I should finish on a living, breathing Fraggle Rock Dog... Phyllis who I really am a little obsessed with.
(Can we have a hashtag #Phylacious!)


